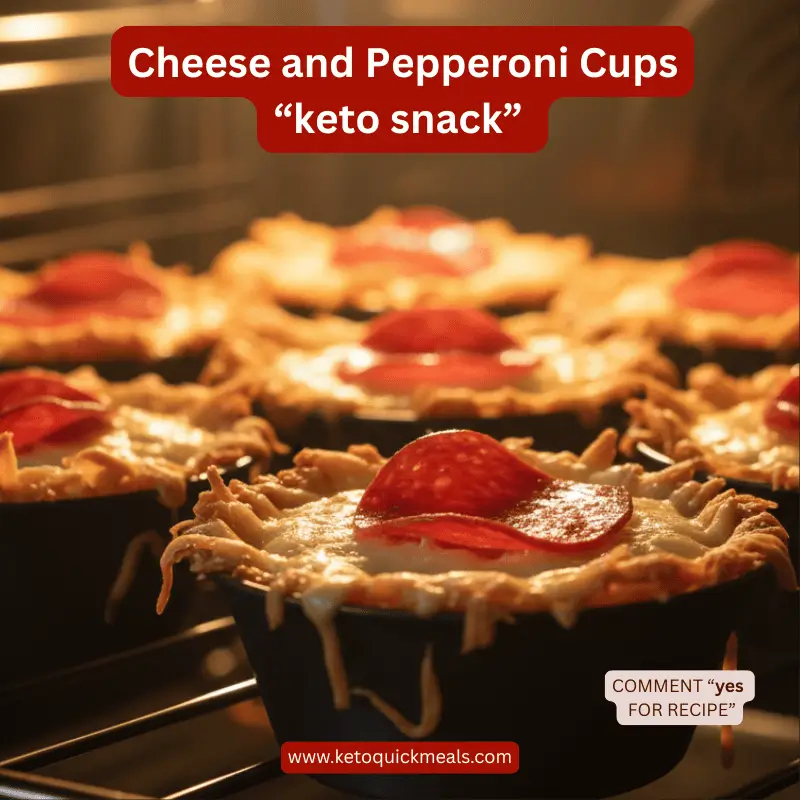
Crispy, cheesy, and ready in minutes—these Easy Cheese and Pepperoni Cups taste like mini pizzas without the carbs. One bite and you’ll be hooked!
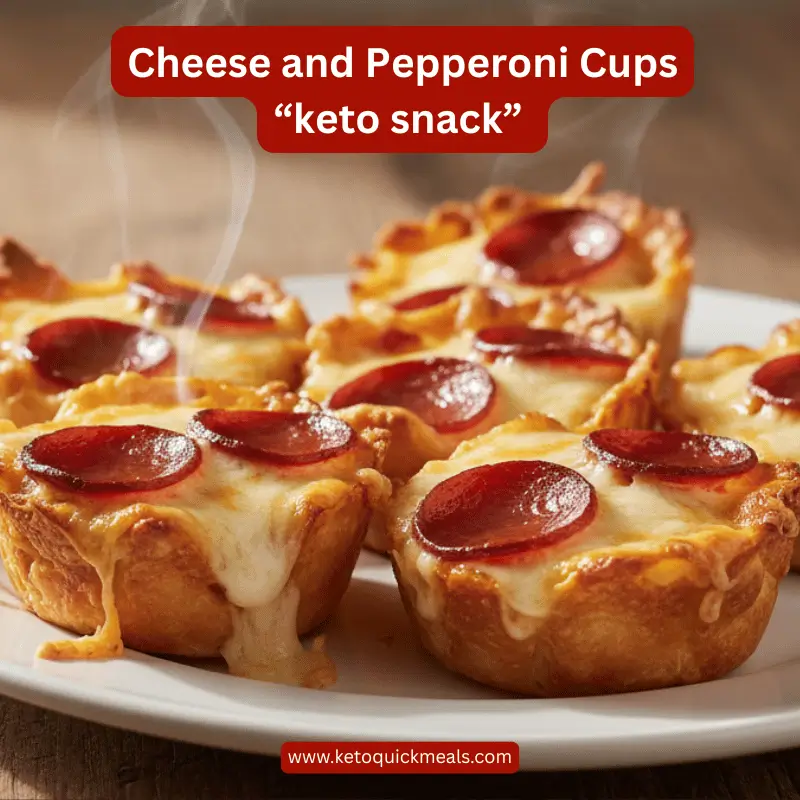
Easy Cheese and Pepperoni Keto Snack Cups
I’m going to keep this real—this is one of those recipes I started making on a random day when I didn’t feel like cooking anything complicated. I just wanted something quick, warm, and satisfying. I had cheese, pepperoni, and honestly… not much else.
I threw them together, popped them in the oven, and what came out was something I didn’t expect to love this much. Crispy edges, gooey center, and that familiar pizza-like flavor—it instantly became one of those “repeat every week” recipes.
No long prep, no stress—just simple ingredients doing their job perfectly.
Cheese and Pepperoni Cups Recipe Details
- Prep Time: 5 minutes
- Cook Time: 10–12 minutes
- Total Time: 15–17 minutes
- Servings: 6 snack cups
- Course: Snack / Appetizer
- Cuisine: Keto / Low-Carb
- Difficulty: Very Easy
Ingredients I Used to make Cheese and Pepperoni Cups
1 cup shredded mozzarella cheese
This is the base. It melts beautifully and gives that stretchy, gooey texture we all love.
¼ cup shredded cheddar cheese (optional)
I like adding this for a sharper, richer flavor. It balances the mild mozzarella.
12–15 slices pepperoni
This adds that classic pizza taste—slightly spicy, salty, and full of flavor.
½ teaspoon Italian seasoning
Gives that familiar “pizza vibe” without needing a sauce.
¼ teaspoon garlic powder (optional)
Just a little boost of flavor. Not necessary, but it makes a difference.
Pinch of red pepper flakes (optional)
Only if you like a bit of heat.
Step-by-Step Method of Cheese and Pepperoni Cups
Step 1: Preheat first
Always start by preheating your oven to 400°F (200°C). It makes sure everything cooks evenly.
Step 2: Prep your tray
Line a muffin tin with paper liners or use a silicone tray. Trust me—this saves you from sticking issues later.
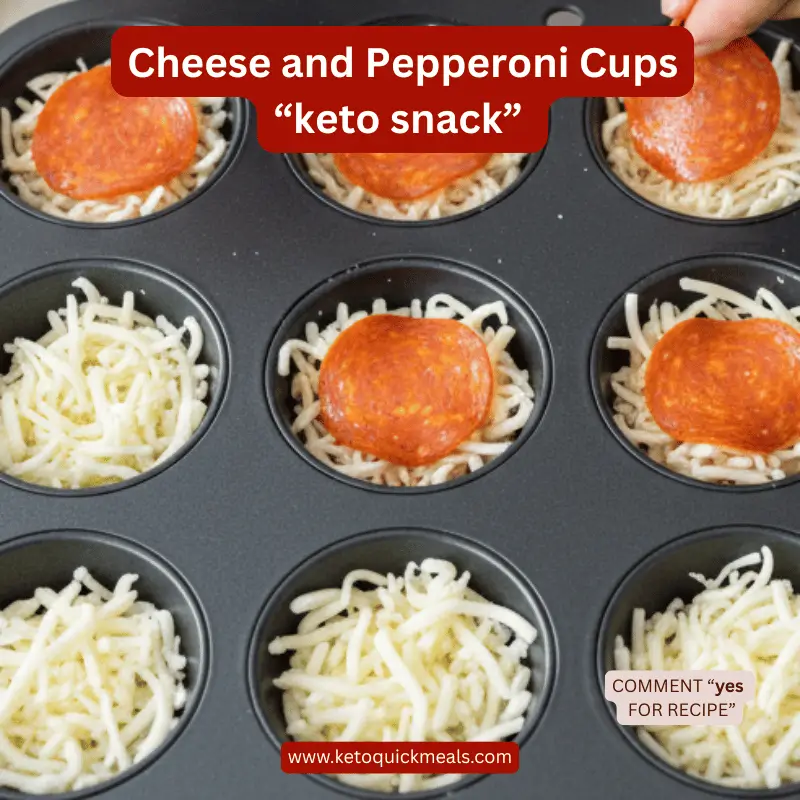
Step 3: Build the base
Add about 1 tablespoon of mozzarella (and cheddar if using) into each cup. This forms the bottom layer.
Step 4: Add pepperoni
Place 1–2 slices right on top. I usually fold them slightly so they fit nicely.
Step 5: Top it off
Add a little more cheese on top, then sprinkle Italian seasoning and garlic powder.
Step 6: Bake
Put them in the oven for 10–12 minutes. You’ll know they’re ready when the edges turn golden and crispy.
Step 7: Let them cool (important!)
Give them 5 minutes before removing. They firm up as they cool, and this is what gives that perfect texture.
Step 8: Enjoy warm
That’s when they taste the best—crispy outside, soft inside.
Cheese and Pepperoni Keto Snack Cups Recipe
Ingredients
Equipment
Method
- Set to 400°F (200°C) and line a muffin tin with paper or silicone liners.
- Add about 1 tablespoon of shredded cheese mixture to each muffin cup.
- Place 1–2 slices of pepperoni over the cheese.
- Sprinkle with the remaining cheese, Italian seasoning, and garlic powder.
- Place in the oven and bake for 10–12 minutes, or until the edges are crispy and golden brown.
- Let them cool for 5 minutes before removing. Garnish with parsley if desired and enjoy!
Notes
- For extra crunch, let them cool completely on a wire rack.
- You can mix in grated Parmesan for added flavor.
- Store leftovers in an airtight container in the fridge for up to 4 days — reheat in the oven or air fryer to keep them crispy.
Nutritional Information (Per Cup – approximate)
- Calories: 110
- Fat: 9g
- Protein: 6g
- Carbohydrates: 1g
- Fiber: 0g
- Net Carbs: 1g
Nutritional Information (Per Cup Approx.)
- Calories: 110–120 kcal
- Fat: 9g
- Protein: 6g
- Carbs: 1g
- Net Carbs: 1g
Common Mistakes to Avoid
One mistake I made early on was trying to remove them too quickly. They fall apart if they’re still too hot, so patience really matters here. Another issue is adding too much cheese—it sounds like a good idea, but it can make them greasy and lose shape. Also, skipping liners can turn into a mess because melted cheese sticks hard to metal trays. And finally, overbaking them makes them too hard instead of crispy.
Kitchen Hacks That Make It Better
If you want extra crispiness, let them sit on a wire rack after baking instead of leaving them in the tray. This keeps the bottoms from getting soft. Another trick I use is mixing cheeses—mozzarella for stretch and cheddar for flavor gives the best result. You can also lightly grease the liners for easier removal. And if you want a slightly “cup” shape, press the center gently right after baking.
My Personal Experience
This Cheese and Pepperoni Cups recipe honestly became my go-to when I didn’t feel like putting effort into cooking but still wanted something satisfying. It’s one of those things I make when I’m hungry and impatient—and it never disappoints.
What I like most is how reliable it is. No complicated steps, no guesswork. And it always turns out good.
Sometimes I make a batch and keep it in the fridge, but most of the time, they’re gone before they even cool properly. It’s that kind of snack—simple, quick, and hard to stop eating.
Frequently Asked Questions About Cheese and Pepperoni Cups
1. Can I use only one type of cheese?
Yes, you absolutely can. I’ve made these many times using just mozzarella, and they still turn out great. Mozzarella melts really well and gives that nice stretchy texture. That said, if you ever feel like adding a bit more flavor, mixing in cheddar or parmesan can take your Cheese and Pepperoni Cups to another level—but it’s totally optional.
2. Can I make these in an air fryer?
Definitely! Cheese and Pepperoni Cups work really well in the air fryer. I usually set it to around 180°C and cook for 8–10 minutes. Just keep an eye on them toward the end because every air fryer is a little different. You’ll know they’re ready when the edges look golden and slightly crispy.
3. How do I store leftovers?
If you somehow have leftovers (which rarely happens in my kitchen!), just place your Cheese and Pepperoni Cups in an airtight container and store them in the fridge. They stay good for about 3–4 days. I like to separate layers with a bit of parchment paper so they don’t stick together.
4. What’s the best way to reheat them?
For the best texture, I always reheat these Cups in the oven or air fryer. It brings back that crispy edge nicely. The microwave works in a pinch, but they do get a bit soft, so I try to avoid it unless I’m in a hurry.
5. Can I add other toppings?
Yes, and this is where you can really have fun. I’ve tried adding tiny bits of olives, jalapeños, and even a sprinkle of herbs on top of my Cheese and Pepperoni Cups. Just keep toppings small and light so they don’t weigh down the cups while baking.
6. Why are mine sticking to the tray?
This usually happens if you skip liners or don’t grease the tray properly. Cheese melts and can stick quite a bit. When I make this, I always use silicone liners or lightly grease the pan—it makes removal so much easier and cleaner.
7. Can I make them ahead of time?
Yes, and honestly, they’re great for that. I sometimes make a batch of these Cups in advance and keep them in the fridge. When I need a quick snack, I just reheat them, and they’re good to go. It saves time, especially on busy days.
8. Why are they too oily?
If your Cheese and Pepperoni Cups turn out oily, it’s usually because of the type or amount of cheese used. Some cheeses release more oil when melted. I’ve found that using a balanced amount of cheese and not overloading the cups helps keep things just right.
9. Can I freeze them?
Yes, you can freeze them if you want to make a bigger batch. Just let them cool completely first, then store in a freezer-safe container. When you’re ready to eat, reheat them in the oven or air fryer so they get their texture back.
10. How do I make them crispier?
If you like your Cheese and Pepperoni Cups extra crispy (like I do sometimes), just bake them for an extra minute or two. Also, letting them cool on a wire rack instead of leaving them in the tray helps keep that crisp texture intact.
If you want something quick, simple, and actually satisfying, these Easy Cheese and Pepperoni Cups are hard to beat. No complicated ingredients, no long cooking time—just real food that works.
They’re perfect for those moments when you want something warm, cheesy, and comforting without putting in too much effort.
👉 I’d love to know—do you like your snack cups more crispy or slightly soft in the center? If you enjoyed this recipe (Cheese and Pepperoni Cups), check out more easy and practical keto recipes on my site (www.ketoquickmeals.com). There’s plenty more simple ideas waiting for you—recipes you’ll actually make again, not just read and forget.

Hi! I’m Momina, a passionate food blogger who loves sharing simple and healthy recipes. At KetoQuickMeals.com, I post easy low-carb meals and helpful tips based on my personal experience and lifestyle.
DisclaimerThe content on this website is for informational purposes only and based on personal experience. It is not medical advice. Please consult a healthcare professional before making any dietary changes.